In previous episode, we learn how to add translations for categories and in the result, the categories list in sidebar will have the same language as the current language of the shown post. By clicking one of the categories, the website remains in the same language.
Now, step to built the menu and his language navigation.
The demo “Child theme” contains special css style to transform name of language directly in country flag. For better understanding, the part of that style is temporary disabled below in snapshot.
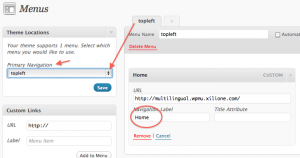
A short view in Nav Menus of Settings of Appearance:
Here above a very simple example with home menu line in topleft menu affected to primary navigation location (arrows) – don’t forget to save menu and location (blue buttons).
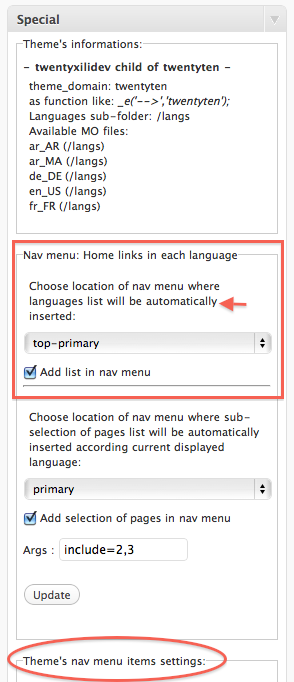
Back to settings page of xili-language and his “Special” metabox:
In this screenshot, the rectangle with red borders is where you choose navigation location and where you checks. (The part- oval at bottom – is reserved for hand adding of menu lines not here presented.)
Now, the languages series will be AUTOMATICALLY added to the end of menu at left.
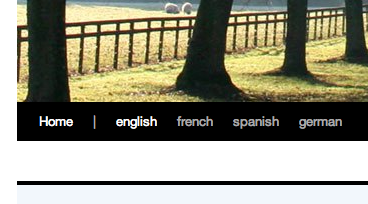
Below when no special css lines in style.css :
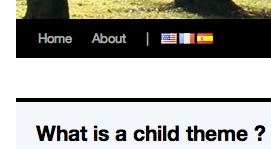
and with the style.css as included in Child theme after the mandatory lines at beginning…
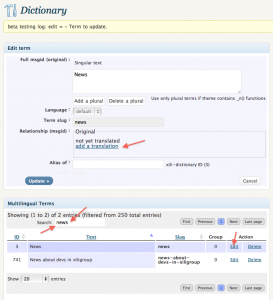
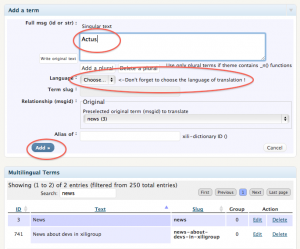
Each term of menu item (and translations) must be in .mo files and can be added with xili-dictionary plugin.
Note: this above example includes automatic adding (and selecting) a series or sub-series of pages. In dev.xiligroup.com, a special navigation location was created on top-right for flags and language home switching !
Next step : Widget and other tips and tricks…

